

You're leaving money on the table with every gang sheet you print.
That's not an accusation – it's a reality for 90% of DTF shops who haven't optimized their layout process. While you're focused on getting orders out the door, poor gang sheet layouts are quietly draining your profits through wasted material, slower production, and missed opportunities to maximize every square inch of film.
The good news? This isn't a complex problem requiring expensive software or weeks of training. We're talking about a 10-minute layout optimization process that can save you $500+ monthly. Let's dive into the specific mistakes that are costing you money and the simple fixes that'll turn your gang sheets into profit-generating powerhouses.
The Layout Mistakes That Are Bleeding Your Bank Account
Mistake #1: The "Random Placement" Disaster
You know what we're talking about – throwing designs onto a gang sheet wherever they seem to fit, with no real strategy behind the placement. This scattered approach wastes more material than you realize.
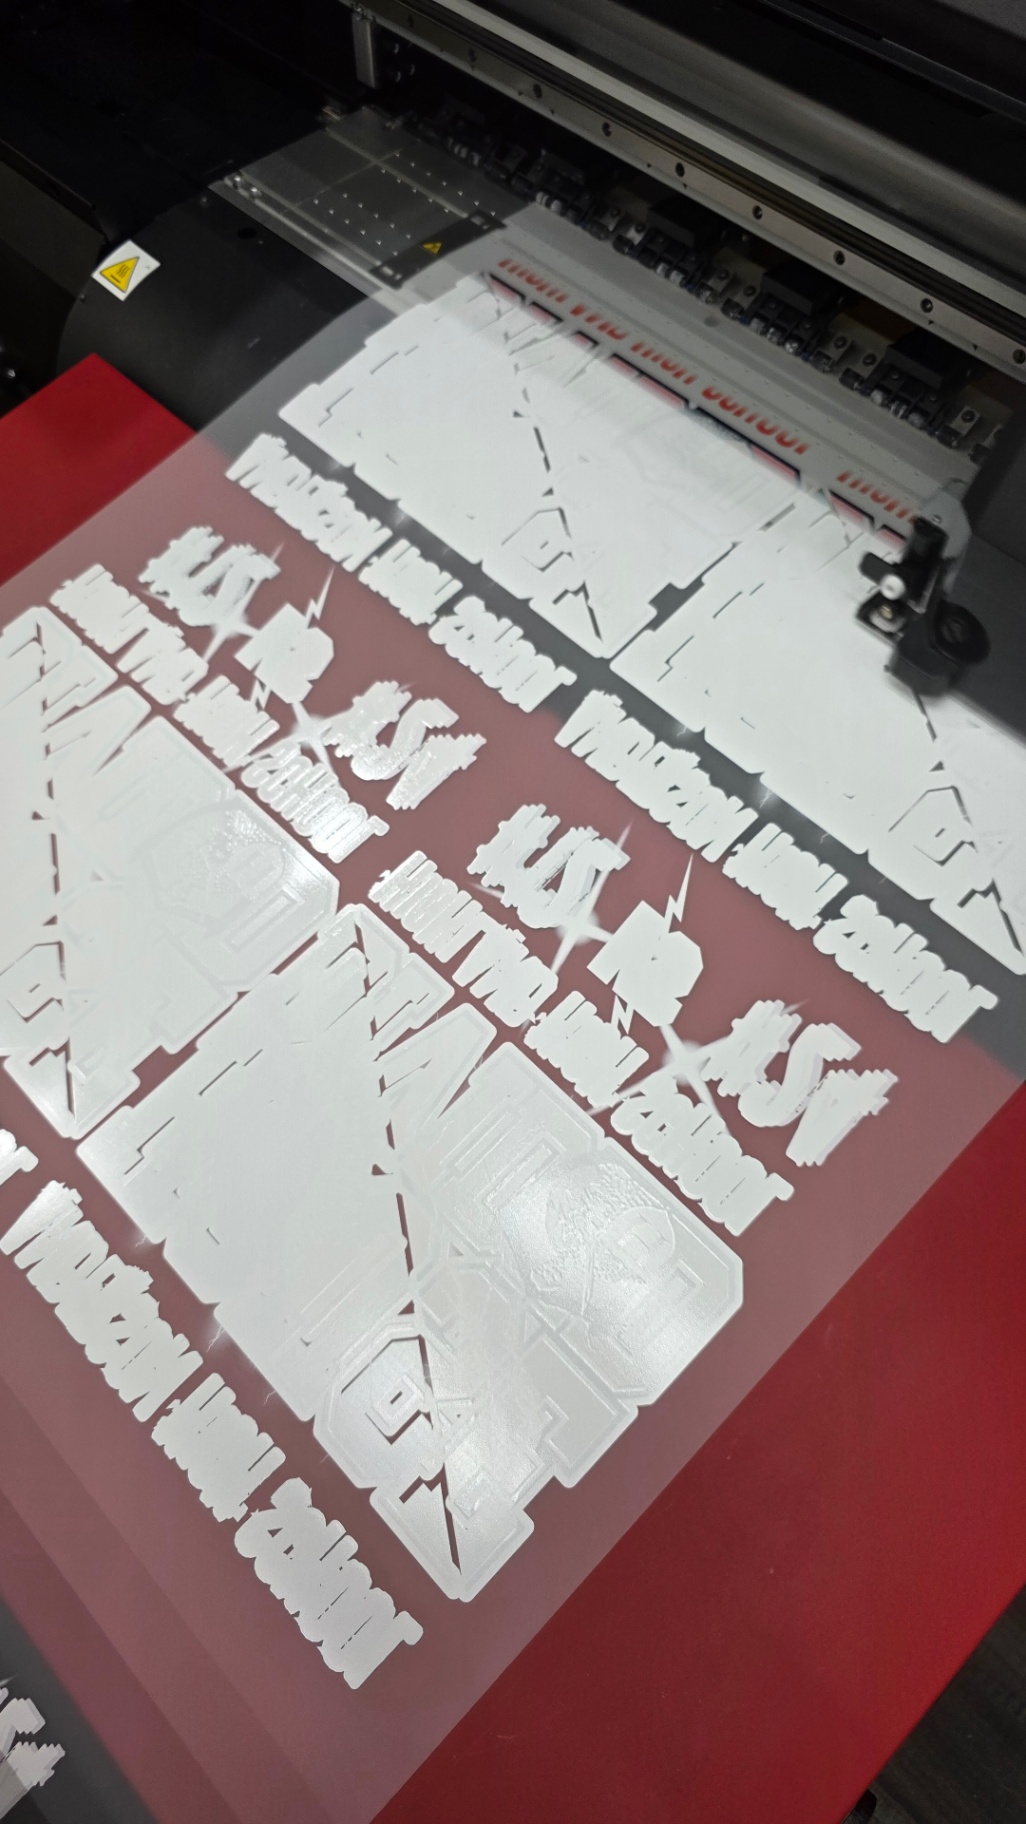
When designs are randomly placed, you end up with weird gaps and unusable spaces that can't fit anything meaningful. That's literally money in the trash. A typical 13" x 19" sheet costs around $3-4 in materials, and poor placement can waste 30-40% of that space.
The Fix: Always start with your largest designs first, then fill in strategically. Think of it like playing Tetris – every piece should have a purpose and a logical place.
Mistake #2: Spacing That Makes No Sense
Here's where most shops get it wrong: they either crowd designs together (creating cutting nightmares) or leave massive gaps between elements (wasting premium film space).
The sweet spot? 0.125" to 0.25" between designs for clean cutting without material waste. Any less and you're asking for transfer bleed or cutting mishaps. Any more and you're paying for film you can't use.
Mistake #3: Ignoring Design Orientation

This one's huge. You've got a collection of vertical logos, but you're only thinking horizontally. Rotating designs by 90 degrees can often fit 2-3 additional transfers in spaces you thought were too small.
Pro tip: Create a quick mental grid and consider how designs look both vertically and horizontally before committing to a layout.
Mistake #4: The "One Size Fits All" Mentality
Not every design needs to be printed at maximum size. Sometimes scaling down a logo by 20% allows you to fit three more designs on the same sheet. Your customer probably doesn't need that 8" logo when a 6" version works perfectly for their application.
The 10-Minute Gang Sheet Optimization Process
Here's the step-by-step process that's saving our customers hundreds of dollars monthly:
Minutes 1-2: Prep and Measure
Before you touch any design software, know your exact printable area. Most DTF printers handle:
- A3 size: 11.75" x 16.5"
- A3+ size: 13" x 19"
Measure your heat press platen too. There's no point printing a 15" wide gang sheet if your press can only handle 12".
Minutes 3-4: Group and Sort
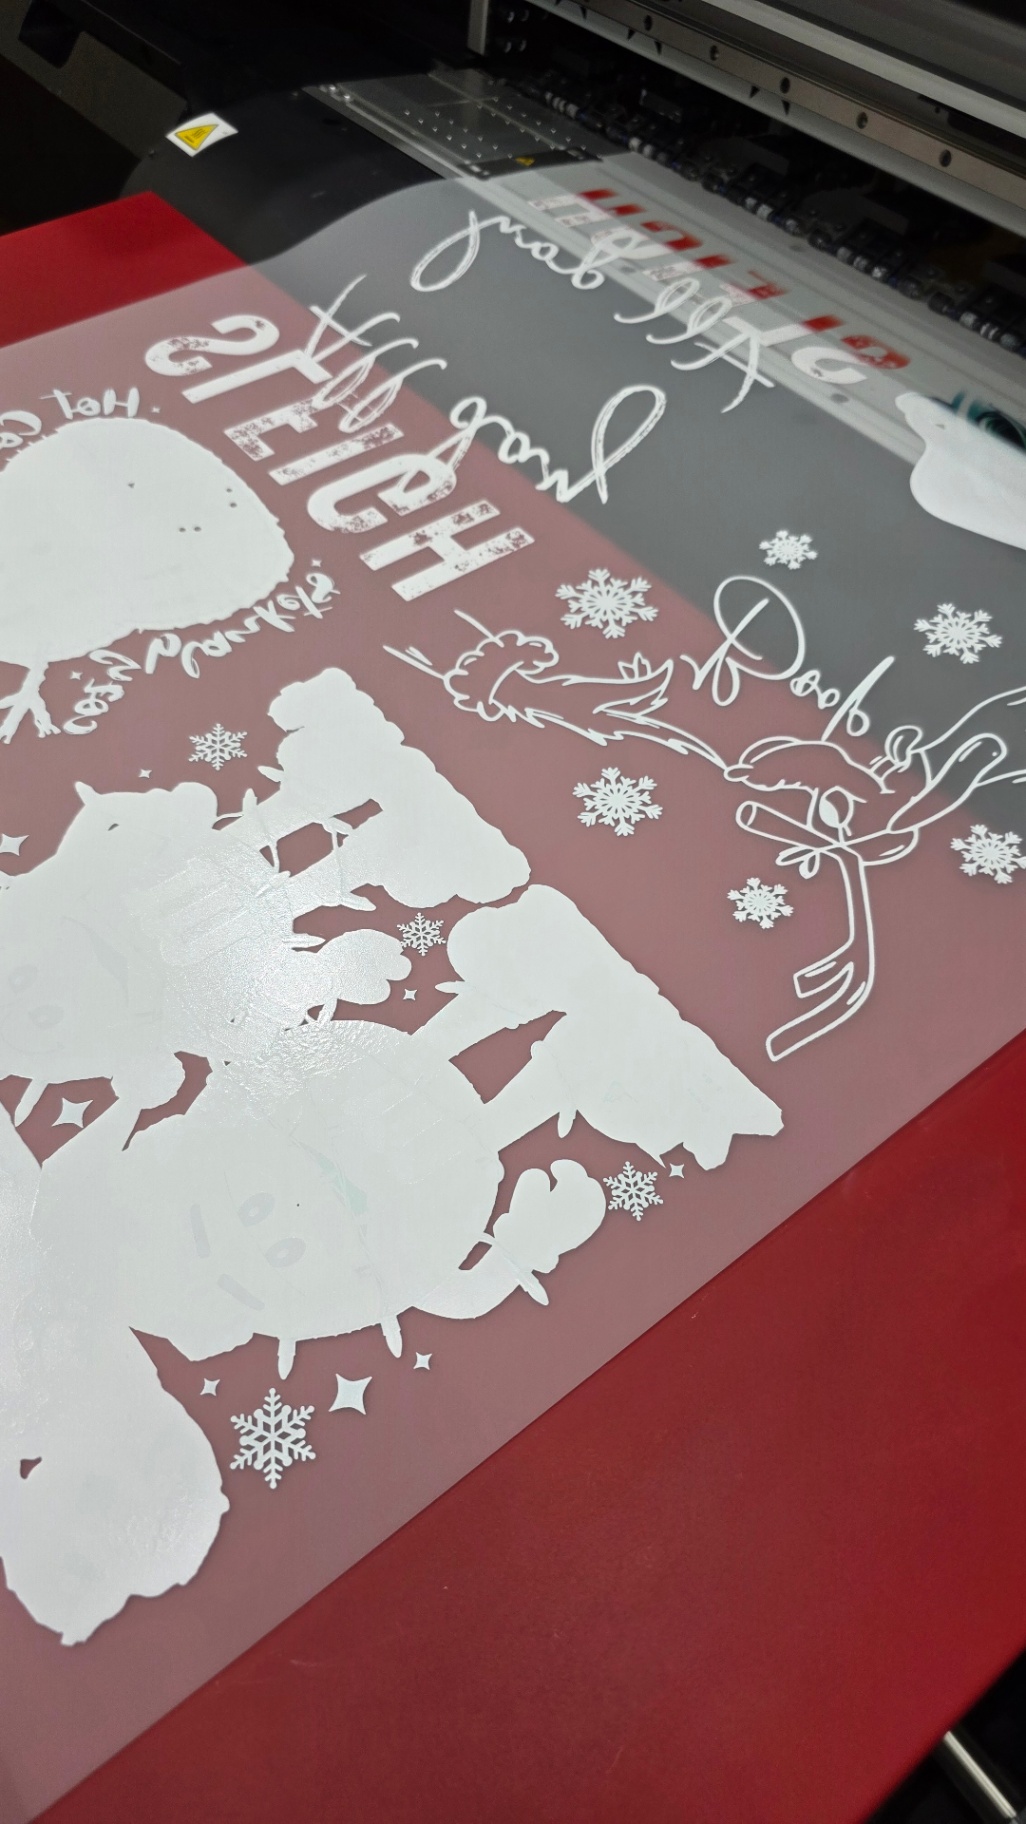
Sort your designs into three categories:
- Large anchors (6"+ in any direction)
- Medium fillers (2"-6")
- Small gap-fillers (under 2")
This grouping strategy ensures you're maximizing space efficiency from the start.
Minutes 5-7: Strategic Placement
Start with your large anchors – place these first in corners or along edges. These designs determine your overall layout structure.
Next, add medium fillers in the remaining rectangular spaces. Don't be afraid to rotate designs 90 degrees if it creates a better fit.
Minutes 8-10: Fill and Finalize
Use your small designs to fill any remaining gaps. Even a 1" x 1" space can fit a small logo that you can sell for $2-3 profit.
Final check: Ensure 0.125"-0.25" spacing between all elements and confirm everything fits within your printable area.
The Real Profit Impact
Let's break down the math on a typical small DTF shop:
Before optimization:
- Average designs per gang sheet: 8-10
- Material utilization: 60-70%
- Monthly gang sheets: 100
- Wasted material cost: ~$180/month
After optimization:
- Average designs per gang sheet: 12-15
- Material utilization: 85-95%
- Monthly gang sheets: 100
- Wasted material cost: ~$30/month
Monthly savings: $150 in material costs alone
But here's where it gets interesting – those extra 4-5 designs per sheet translate to 400-500 additional transfers monthly. At an average profit of $1-2 per transfer, you're looking at $400-1000 in additional revenue.
Total monthly impact: $550-1150
And this doesn't account for time savings from more efficient production runs or the reduced waste from better cutting layouts.
Advanced Layout Strategies
The "Family Grouping" Method

Group related designs together on gang sheets. All the baseball team logos on one sheet, all the birthday designs on another. This makes inventory management easier and often creates more efficient layouts since similar designs tend to have compatible dimensions.
Template-Based Layouts
Create standard layout templates for common order sizes:
- 6-piece template for small custom orders
- 12-piece template for medium wholesale orders
- 20+ piece template for bulk production runs
Having these templates ready eliminates the guesswork and speeds up your layout process significantly.
The "Modular Approach"
Design your gang sheets in modular sections. Create 4" x 6" "blocks" that can be mixed and matched. This approach gives you incredible flexibility while maintaining efficiency.
Tools That Make the Difference
While you don't need expensive software to optimize layouts, a few tools can streamline the process:
Gang Sheet Builders: Many DTF suppliers (including us at Press Ready DTF) offer gang sheet builders that automatically optimize layouts for maximum efficiency.
Design Software Templates: Create reusable templates in your design software with guides and grids pre-set for common gang sheet sizes.
Measurement Tools: Keep a ruler or measuring tape handy. Quick physical measurements beat guessing every time.
Common Layout Pitfalls to Avoid
- Don't mix print settings: Keep designs with similar color profiles and print requirements together
- Avoid tight corners: Leave extra space around designs that will be cut by hand
- Skip the perfectionism: A "good enough" layout printed today beats a "perfect" layout that delays your order
- Don't forget bleed areas: Some designs need extra space for proper heat press alignment
Making This Stick
The key to turning this 10-minute process into automatic profit is consistency. Create a simple checklist:
✅ Measure available space
✅ Group designs by size
✅ Place large designs first
✅ Fill with medium designs
✅ Add small designs to gaps
✅ Verify spacing and fit
Post this checklist next to your design station. After 2-3 weeks, this process becomes automatic, and you'll wonder how you ever worked without it.
Your gang sheets are one of the biggest opportunities for immediate profit improvement in your DTF business. Ten minutes of strategic thinking can easily save you $500+ monthly, and often much more.
Ready to put this into practice? Try optimizing your next three gang sheets using this process and track your material usage. The results will speak for themselves.
Want to skip the layout headaches entirely? Check out our Custom DTF Gang Sheet Builder – we handle the optimization so you can focus on growing your business.